Encrypted Diskimages in OSX
If you're ever in the situation that you want to have sensitive/work data on your mac encrypted but also readily available to work with, you'll probably want to use an encrypted disk image to store your files. The main problem with the disc image is, that mounting it on boot isn't the easiest thing to do. Since there aren't that many guides on it, I though I'd write one myself. Without further ado, here is how you create an encrypted volume and automount it on boot:
- Open "Disc Utility" and click the new image icon:

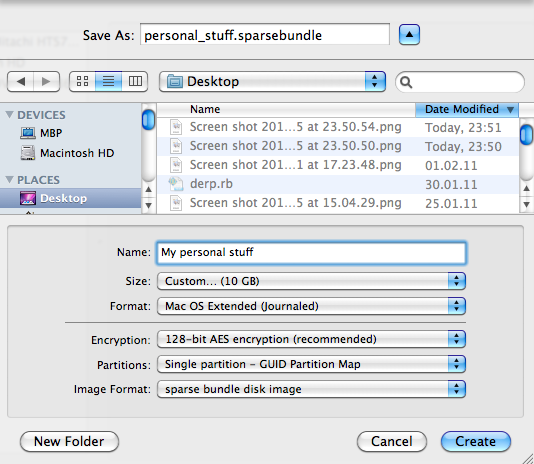
- Create a sparse bundle and be sure to enable encryption:
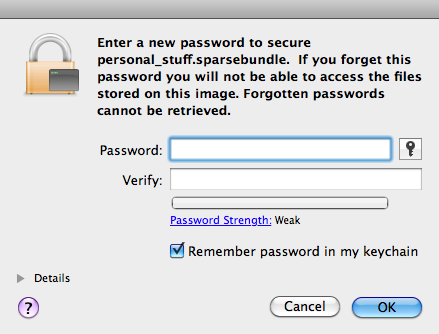
- Enter a password for it:
-
After this, your image should be created and mounted. Go to the terminal and find out its disk device:
After you found out the device, check the image's UUID:$ mount [...] /dev/disk1s2 on /Volumes/My personal stuff (hfs, local, nodev, nosuid, journaled, noowners, mounted by mseeger)
There we go, our image's UUID is 8F37F1F3-71EB-35AA-BED9-237DCD2A0842$ diskutil info /dev/disk1s2 | grep UUID Volume UUID: 8F37F1F3-71EB-35AA-BED9-237DCD2A0842
- Create a folder you want to mount it to later
- Open the system's fstab files by typing "sudo vifs" into the terminal
- Insert the following line, replace UUID and path with your values:
p.s. vifs will put you in VI, so just press 'i' to get into insertion mode and [escape], :wq, [enter] to save the file
UUID=8F37F1F3-71EB-35AA-BED9-237DCD2A0842 /Users/mseeger/stuff hfs rw 1 0
- Drag the sparse image into your user's "login items" (System Preferences) and it will be automatically mounted on boot. Since the image's key will be placed into the keychain that you unlock when you login, the image will be ready to use at the designated folder :)
That's it, have fun :)